Your Ultimate Spring Home Maintenance Checklist
There’s something about spring that just makes us want to get to work. Maybe it’s the warmer weather or the longer daylight hours. We find ourselves ready to tackle our to-do list and then some! We’ve compiled our ultimate spring home maintenance checklist to help guide you through some of the most important projects to take on this spring.
Winter weather can wreak havoc on your home, but following this spring home maintenance guide will help your home run efficiently and look its best – not to mention save you money in the long run on costly repairs that are inevitable when we neglect our homes.
Begin your spring home maintenance by walking your property and surveying your home. Look for signs of damage on the roof, chimney, fencing, and decks or patios. Also, stay alert to any organic growth such as mold and mildew that may have accumulated on your home’s exterior, patio or fencing. Check wooden surfaces – including window and door trim – for signs of rot and peeling paint. Keep a ladder handy, or consider using a drone, to access hard to reach areas such as the top of your chimney and inside the gutters. Now that you have a solid understanding of your home’s exterior state, use this ultimate spring maintenance checklist as your guide to get started.
Spring Home Maintenance Guide
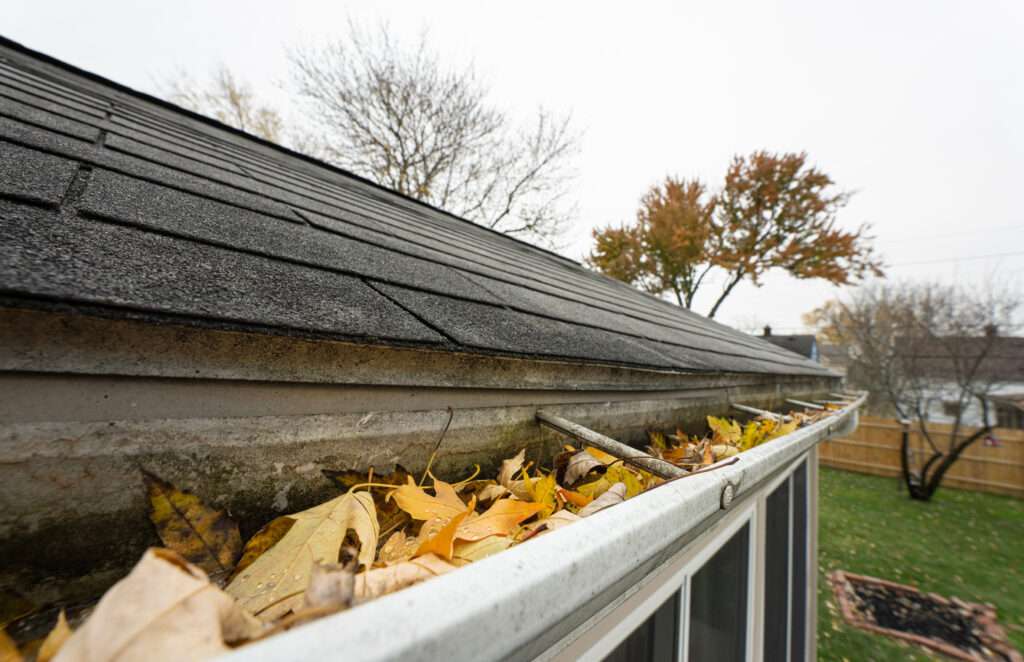
Clean Gutters & Downspouts
Gutters keep wet weather and rainwater away from your house. But if they aren’t in working order, you risk serious damage to your home and your home’s foundation. Start by inspecting the full gutter system for damage. Also, check your home’s exterior for water stains or signs of water damage, especially under eaves and near gutter downspouts. This could be a sign that your gutters are not adequately draining roof runoff.
Next, clear fallen leaves and twigs out of the gutters to eliminate clogs. Scoop out debris by hand, or use a gutter cleaner attachment with your power washer. Installing a gutter guard can help to reduce, or even eliminate, clogged gutters in the future.
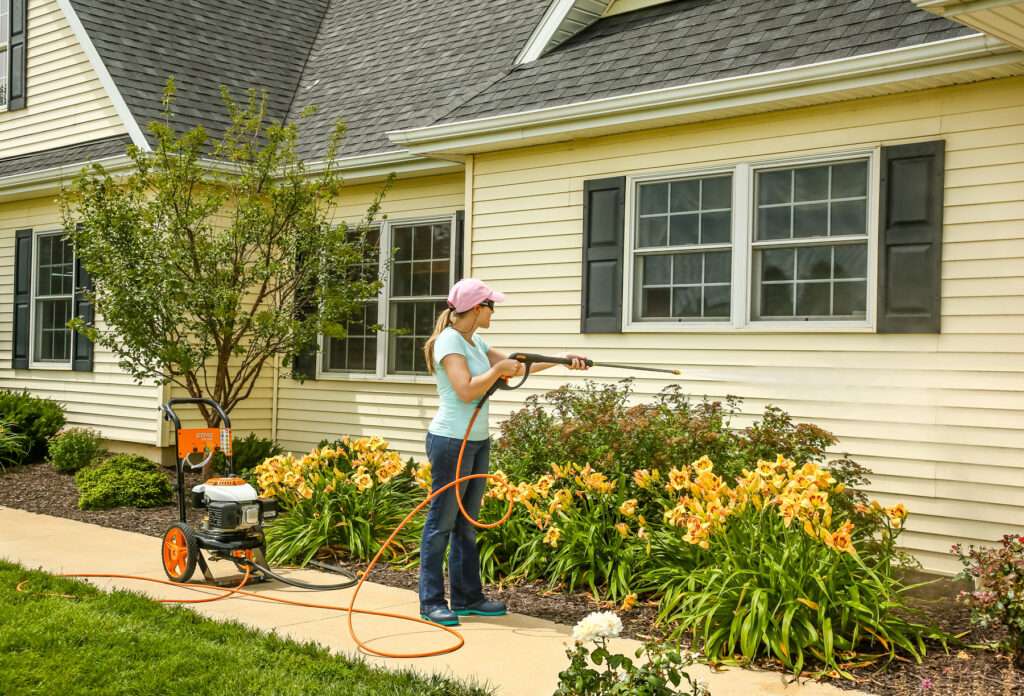
Power Wash Exteriors
Wet and dark winter months provide an ideal environment for mold, mildew, moss, and algae to grow on outdoor surfaces. Overtime these organic substances can erode and rot the surfaces they are attached to. Power washing is an easy way to remove them, along with any built up dirt and grime. Before you get started, grab a broom to clear away debris from eaves and windowsills. Close and lock all windows and doors to protect against water intrusion and use duct tape to cover electrical outlets. Remove delicate items such as planters and décor. Use a tarp to protect shrubs and plants near the home.
Pretreat heavily soiled areas with a scrub brush and detergent that is surface suitable. Follow the manufacturer’s guidelines when selecting and adding detergents to the power washer. Stand about three feet away from the home, spray in a side-to-side sweeping motion, and work from top to bottom in overlapping strokes. Never stand on a ladder when using a power washer, as the pressure may cause you to lose your footing. In addition to your home’s exterior, a power washer can be handy tool for cleaning sidewalks, driveways, fencing, kids’ playsets, outdoor furniture, and patios.
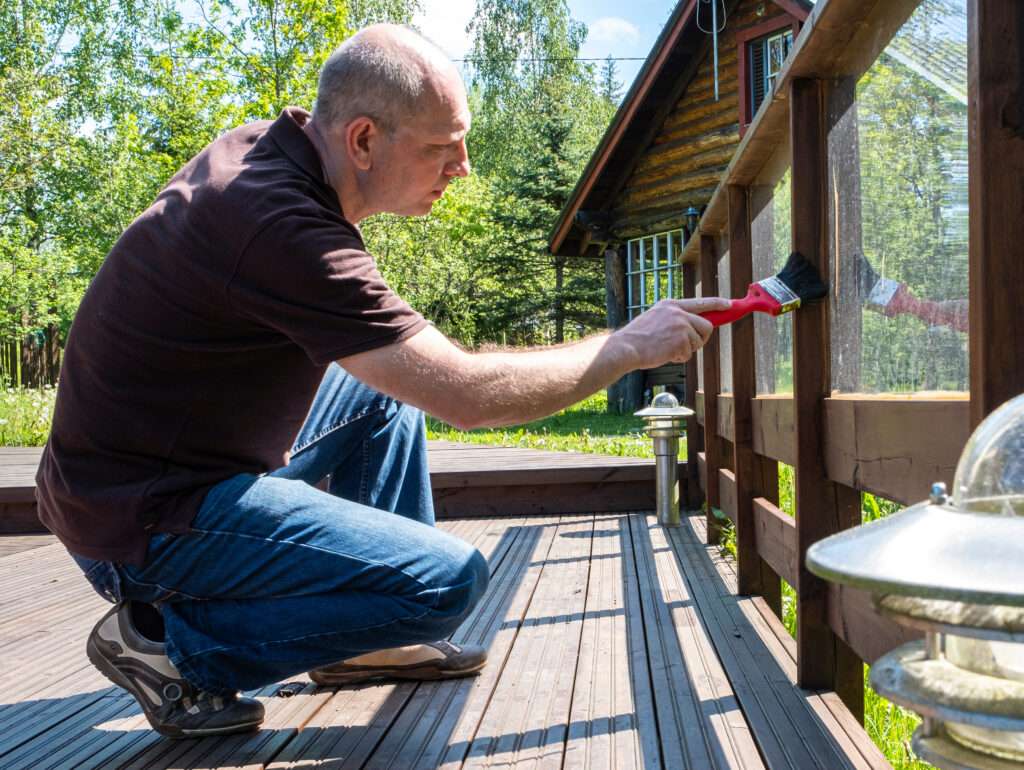
Prep the Patio
Sweep off any dirt, leaves, and fallen tree limbs that have accumulated over the winter. Inspect all surfaces, including railings, to ensure materials are secure. Wood decks should be inspected for warping, splintering, fading, peeling paint, and rot. Any signs of damage should be repaired quickly, to ensure the area remains safe.
Typically, wooden decks should be sealed every one to three years. Prior to sealing, clean the surface with a pressure washer and sand any splintered surfaces. Stone and composite decks can usually be maintained with a thorough spray of a garden hose or pressure washer on a lower setting.
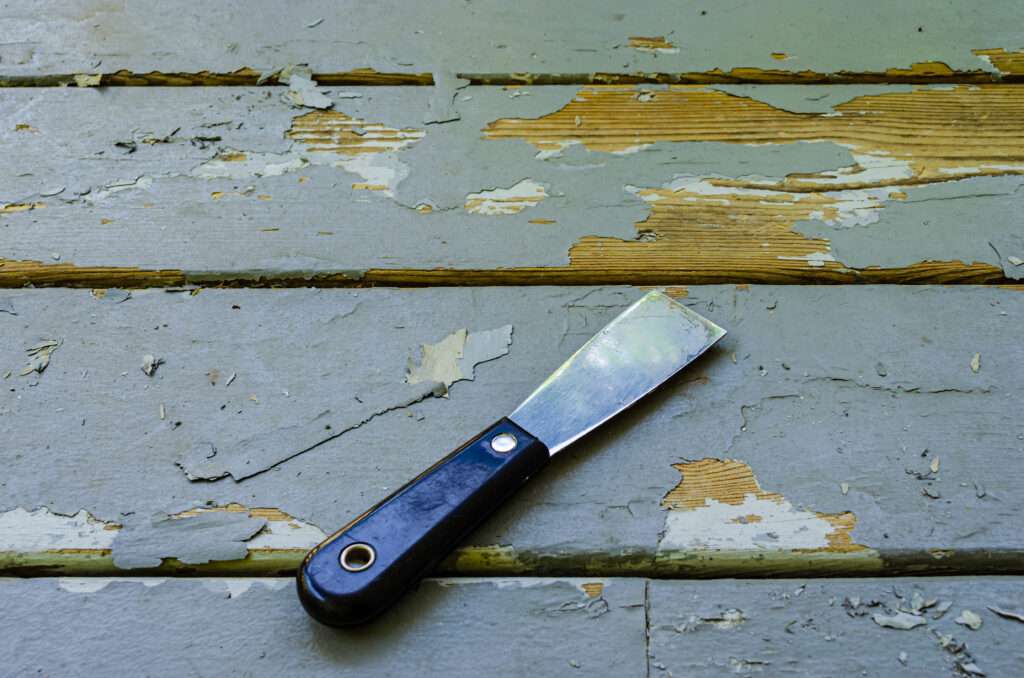
Touch Up Paint
Walk the perimeter of your home and use a swatch of painter’s tape to flag any areas of chipped or peeling paint. Lay a tarp or drop cloth on the ground at the work area and use a paint scraper to remove the loose paint. A power washer can also be used to remove chipped paint. Ensure the surface is fully dry before applying paint. If you’ve power washed the area, it may take up to a week to dry out porous surfaces such as wood.
When you’re ready to get to work, tape off adjacent areas such as trim, windowsills, and light fixtures. Apply a layer of primer before applying the first coat of exterior paint. Blend the new paint into the existing finish using a feathering technique. Start in the middle of the touch up spot and use light outward strokes extending slightly into the original paint.
Seal the Driveway
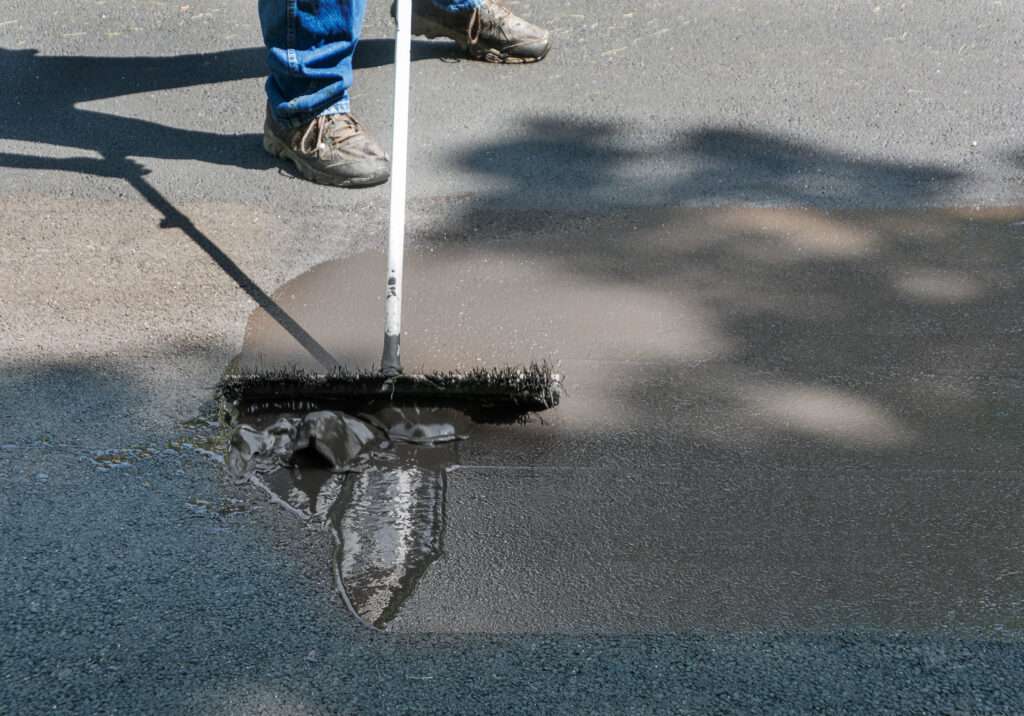
Your driveway takes a beating from automotive oil, rock salt, ice, and UV rays. Applying a seal coating can help to protect the surface from damage and boost your home’s curb appeal. In fact, a properly maintained asphalt driveway can last upwards of 20 years without needing any major repairs, making this spring maintenance task well worth your time. Most driveway sealants require two coats with at least eight hours of drying time in between, so plan ahead before tackling this task.
To get a smooth, even finish, start with a clean surface. Pull any weeds or grass that may be growing through cracks, clean oil spots, and use a leaf blower to clear away debris. Fill in cracks and potholes with an asphalt crack filler. Protect garage doors with plastic sheeting and apply duct tape to create a barrier along the driveway’s edges. Use a heavy-duty painter’s brush to cut in the edges of the driveway. Check the manufacturer’s guidelines to confirm if a stiff brush or squeegee is required to apply sealant to the driveway expanse, then began apply the sealant from a top corner of the drive. Spread the sealant with even pressure from side to side, pouring more sealant as you go. Apply a second coat after the recommended drying time is complete – usually within 24-48 hours.

Declutter the Garage
It’s easy for the garage to become a dumping ground for clutter and boxes, or a make-shift storage unit. Applying a little spring-cleaning gusto to the garage will keep your space functional and attractive as you move into the warmer months. Start by dividing the space into zones – such as sporting goods and kids’ toys, lawn and garden supplies, and tools. Determine where each zone will live within the space, then begin moving items into those designated areas. Consider scrapping or re-homing anything that doesn’t fit within the zones you’ve established. Once your garage is cleared out and organized, check out these ideas to optimize storage space.
Decluttering the garage gives you an opportunity to take stock of your home maintenance supplies and determine what needs to be replaced or serviced. Maintaining your tools will help to preserve your investment for years to come. Power tools such as electric saws, sanders, drills, and fasteners can lose performance if they aren’t properly maintained. Professional power tool service and sharpening ensures your equipment is in peak performance and ready when you need it.

Get Ready for Grilling Season
If you’re anything like us, when the weather turns warmer, you’re ready to fire up the grill. But after sitting for several months in wet weather your grill will likely need a refresh before you can get started. Use a soft bristle brush to clear out any debris that may have accumulated over the fall and winter. Check around the grill and in all compartments for bugs and rodents that may have taken up residence. Use warm soapy water and a wire brush to thoroughly clean the grates and grease drip pan.
Inspect all fuel hoses to ensure proper connections. Gently clean away any grime on the hose with a soft cloth. Do not start the grill if you notice any holes, tearing, or damage in the fuel hose. These should be replaced immediately for safety. Check the burners for uneven flames as this could be an indication of built-up grease and grime. Remove the burner and use a pipe cleaner or small wire brush to remove debris and grease in the ports. Repeat until flames return to optimal level. Refill the propane tanks and you’re ready to go!

Taking time to maintain your home now as the seasons change means more time to enjoy your home – and the fruits of your labor – as the weather warms.
Whether you’re a first-time DIYer looking to get your hands dirty, or a seasoned pro with specific project requirements in mind, our team is always here to help! Stop in to shop our selection of power tools, check out the newest grills from top brands such as Weber and Big Green Egg, and ask about our expert power tool repair service.

